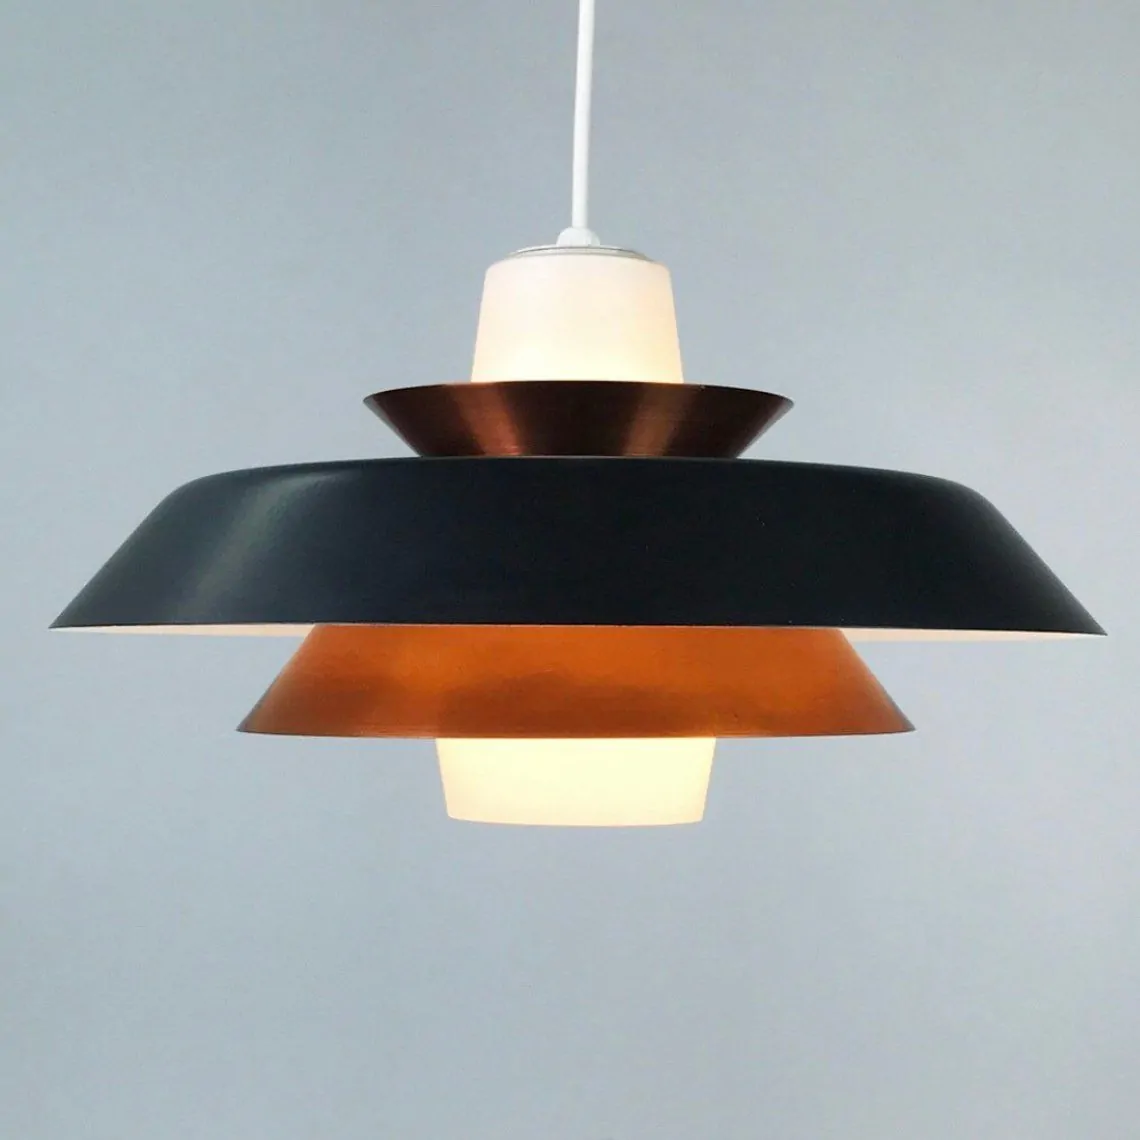
Hang multiple Danish pendants by measuring the table or island first, marking the center, spacing fixtures 20–24 in apart (for medium shades) center-to-center, setting bottom edges 28–34 in above dining surfaces or 30–36 in above counters, wiring them in a secure daisy chain, and adding dimmers to fine-tune balanced, glare-free light.
Advertisement
hang multiple danish pendants can feel like juggling tape measures and power drills, right? I’ve tested dozens of setups, and here’s what actually works.
Measuring your space before drilling
Grab a tape measure, painter’s tape, a pencil, and a small ladder. These simple tools keep walls clean and make sure holes land exactly where you want them.
Find the visual center
Stand back and look at the table, island, or hallway you plan to light. Measure its exact width and length. Split each number in half to locate the center point. Place a tiny piece of painter’s tape on the ceiling right above that spot.
Plot the pendant spread
For two or three lamps, divide the table length by the number of gaps, not the number of fixtures. For example, a 72-inch table with three pendants needs two equal gaps: 72 ÷ 2 = 36 inches. From the center tape, measure 18 inches left and 18 inches right. Mark each end with tape. Those marks show where the canopy screws will go.
Check clearance and sightlines
- Hold a pendant at the planned spot. Make sure the bottom will hang 28–34 inches above the table or 7 feet off the floor in open areas.
- Sit down. Verify no pendant blocks faces or eye contact.
- Open cabinet doors and test that nothing swings into the lights.
Finally, pull out a laser level. Shine it across the three tape marks. If the beam touches all of them, your line is straight. If not, adjust the tapes a hair until the beam stays level. Now you’re ready for confident drilling.
Advertisement
Finding the perfect pendant height for different rooms

Over dining tables
Keep the pendant bottom 28–34 inches above the tabletop. This lets diners see each other while the light pools nicely on plates.
Above kitchen islands
Measure from the countertop up. Aim for 30–36 inches of clearance so pots, mixers, and tall friends stay safe. On tall ceilings, raise the fixture but add a longer stem to hold the same gap.
In open walkways
- Hallways, foyers, and stairs need headroom.
- Hang the shade at least 7 feet from the floor.
- With two-story entries, center the pendant at the halfway point between floors.
Above nightstands
Swap bulky lamps for a pendant dropping 18–24 inches above the nightstand. You get free tabletop space and glare-free reading light.
Over bathroom vanities
Hang a pair of mini pendants so the bottoms sit roughly 65–68 inches from the floor, flanking the mirror. This cuts shadows on the face while staying clear of splashes.
Use these room-by-room numbers as starting points, then adjust by inch to fit your ceiling height and personal comfort.
Ideal spacing between multiple fixtures
Measure fixture width first
Lay each pendant on the table and measure its widest point. This diameter becomes the base number for your spacing math.
Use the center-to-center rule
- For small pendants (≤10 in.), keep 15–18 inches between fixture centers.
- For medium pendants (11–18 in.), leave 20–24 inches.
- For large pendants (19–24 in.), aim for 28–32 inches.
Quick island formula
Take the island length, subtract the total width of all pendants, then divide the remainder by the number of gaps. Example: a 60-inch island with three 8-inch lights—60 − 24 = 36; 36 ÷ 4 = 9 inches of space on each end and between shades.
Edge clearance
Always keep at least 6 inches from the first pendant to the edge of the table or counter. This stops shadows on plates and keeps elbows clear.
Align with sightlines
Stand at eye level and confirm bulbs do not overlap cabinet doors or artwork in the background. If they do, nudge spacing by an inch rather than shifting height.
Wiring basics when linking pendants in series

Flip the breaker and confirm the line is dead with a non-contact tester. Working on live wires risks shock even for pros.
Plan the daisy chain
Feed a 14/2 or 12/2 cable from the wall switch to the first pendant box. From there, run another identical cable to the next pendant, repeating until the last fixture. This series run lets one switch control every light.
Know the three conductors
- Black = hot from the switch.
- White = neutral back to the panel.
- Bare or green = ground for safety.
Make tight splices
At each canopy, twist the incoming hot, outgoing hot, and pendant lead together. Cap with a listed wire nut and tug to check. Repeat for neutral and ground. Loose joints create flicker and heat.
Watch load limits
Add all bulb watts and divide by 120 to get amps. Stay under 12 amps on a 15-amp circuit (about 1,440 watts) to avoid tripping breakers.
Label and test
Wrap painter’s tape around each outgoing cable and mark P1, P2, P3. Restore power, flip the switch, and verify every pendant glows. If one stays dark, trace labels back to the last working splice.
Balancing light levels over dining tables and islands
Aim for 30–40 lumens per square foot on dining tables and about 50 lumens on busy islands. Multiply the surface area by those numbers to find total lumens, then divide by the number of pendants to choose bulb wattage.
Use layered lighting
Pair pendants with recessed cans or under-cabinet strips. Task lights handle chopping, while pendants add atmosphere. This mix prevents harsh glare and dark corners.
Add a dimmer switch
- Install an LED-rated dimmer on the circuit.
- Set dinner mood at 40-50% output.
- Crank to 100% for homework or food prep.
Mind bulb color temperature
Choose 2700–3000 K for warm meals and 3500 K for brighter kitchens. Keep all bulbs in a row the same Kelvin to avoid mismatched hues.
Prevent hot spots
If the center spot still feels bright, use frosted globes or add a small diffuser disk inside the shade. Spreading the beam softens shadows on plates.
Check spill light
Sit at each seat and glance toward the island. Adjust pendant height or swap a narrower beam bulb until no one stares into bare LEDs.
Creative layouts beyond a straight line
Skip the predictable row and let your pendants tell a story.
Cluster over round tables
Group three to five small shades in a tight 12-inch circle, each hung at a slightly different height. The varying drops create depth without blocking views.
Zigzag along long counters
Instead of a straight line, shift every other pendant 4–6 inches sideways. The lights still follow the counter’s length but add playful movement.
Diagonal staircase run
- Hang the first fixture just above the bottom step.
- Raise each next pendant one step higher, keeping the same 7-foot headroom.
- The diagonal string guides eyes upward and lights every tread.
Offset pairs for wide islands
Use two sizes of shades. Place the larger ones closer to the center and the smaller ones toward the ends, spacing each pair 20 inches apart. This balances mass and avoids a bulky middle.
Radial burst in foyers
Run cables from a single canopy to five mini pendants that fan out like spokes. Keep each cord the same length so the bulbs hover in a neat circle.
Mixing heights, angles, and shapes lets Danish pendants feel like art instead of mere task lights.
Troubleshooting common installation hiccups
Pendant hangs crooked
Slide the canopy down and loosen the set screw on the cord grip. Twist the shade until level, then retighten. Add a small rubber washer above the grip if the cord still slips.
Bulbs flicker or cut out
- Check wire nuts. A loose neutral often causes random flashing.
- Swap the bulb with a known good LED. Some cheap LEDs hate dimmers.
- If all lights flash, the dimmer may be overloaded—upgrade to an ELV LED-rated dimmer.
Breaker trips when you switch on
Inspect each splice for a stray copper strand touching the metal box. Wrap suspect wire nuts with electrical tape. Verify hot and neutral aren’t reversed at the switch.
Heights don’t match
Hold a tape measure from ceiling to the bulb tip of the lowest pendant. Adjust other cords to match within ⅛ inch. A locking cord grip or tiny zip tie inside the canopy keeps lengths fixed.
Canopy won’t sit flush
Bend mounting bracket screws slightly inward so the canopy rim presses against the ceiling. For big gaps, add a foam gasket ring to hide uneven drywall.
Buzzer in the dimmer
Hum often means the dimmer and LED driver clash. Replace bulbs with ones marked “dimmable 120 V” or swap the dimmer for a quiet, trailing-edge model.
Maintenance tips to keep pendants shining
Weekly dust-off
Turn the switch off and let bulbs cool. Wipe shades with a dry microfiber cloth to lift dust before it cakes on.
Monthly deep clean
- Unscrew the shade and set it on a towel.
- Mix a few drops of dish soap in warm water.
- Dip a soft sponge, wring it out, then swipe inside and outside surfaces.
- Rinse under a light stream, dry with a lint-free cloth, and reattach.
Polish metal hardware
Use a chrome or brass cleaner that matches the finish. Dab a penny-size amount on a rag and rub in small circles. Buff with a clean side to restore shine.
Check screws and cords
Grasp the canopy and give it a gentle twist. If it moves, tighten the mounting screws a half-turn. Inspect cords for nicks; replace frayed ones right away.
Swap bulbs smartly
Replace burned-out lamps with the same Kelvin and lumen rating so color and brightness stay even across all pendants. Opt for dimmable LEDs to cut heat and extend life to 25,000 hours.
Keep vents clear
Heat rises through pendant vents to cool the driver. Dust blocking these slots shortens bulb life, so brush them out during each cleaning session.
Wrap up: Hang your pendants with confidence
Hanging Danish pendants mixes simple math with a dash of style. Measure the room, set the right height, and leave smart gaps so light spreads evenly.
Use safe series wiring, add dimmers, and balance lumens for both meals and prep work. Creative clusters or zigzags turn basic fixtures into eye-catching art.
If a shade leans or flickers, quick tweaks to cord grips, wire nuts, or dimmers solve most problems. Regular dusting, gentle washing, and matched LED bulbs keep each pendant bright.
Follow these steps and your lights will shine at the perfect spot—no guesswork, just glowing results.
FAQ – Hanging Multiple Danish Pendants
How high should I hang pendants over a dining table?
Keep the bottom of each shade 28–34 inches above the tabletop so diners see each other and the light pools nicely on plates.
How do I calculate spacing between three pendants on a 6-foot island?
Subtract the total width of the pendants from the island length, then divide the remainder by the number of gaps. Example: three 8-inch lights on a 72-inch island leave 9 inches between each shade and at each end.
Can I wire several pendants to one switch?
Yes. Run a daisy-chain of 14/2 or 12/2 cable from the switch to each canopy, splicing hot, neutral, and ground wires securely at every fixture. One switch will control the whole row.
What should I do if a pendant hangs crooked after installation?
Slide the canopy down, loosen the cord grip, twist the shade level, then retighten. Add a rubber washer above the grip if the cord keeps slipping.
Which bulb brightness and color temperature work best for dining and prep areas?
Aim for 30–40 lumens per square foot over dining tables with warm 2700–3000 K LEDs, and about 50 lumens per square foot with 3500 K LEDs for kitchen islands.
How often should I clean Danish pendants to keep them shining?
Dust weekly with a dry microfiber cloth and deep-clean monthly with mild soapy water, drying shades completely before reattaching.