Danish flush mount hallway lighting combines a low-profile oak or metal rim, opal glass diffuser, and frosted LEDs to hug ceilings under eight feet, spread glare-free light through narrow corridors, and evoke hygge comfort without head bumps or expensive rewiring, guided by simple sizing rules and quick microfiber upkeep.
Advertisement
danish flush mount hallway lights might look tiny, but they pack cozy punch. Ever tried walking into a corridor that feels like a winter evening café? Stick around to see how compact fixtures, smart angles, and a dash of hygge turn that blank passage into your favorite spot.
Why flush mounts suit tight corridors
When your hallway barely gives elbow room, every inch matters. A flush mount hugs the ceiling, so nothing hangs down to snag bags or bump heads. This slim profile keeps the path clear for kids, pets, and laundry baskets.
Full-width illumination
Because the fixture sits near the ceiling, light spreads outward in a broad circle. Shadows shrink, making narrow walls feel wider. Pair a matte diffuser with glare-free lighting LEDs to avoid harsh hotspots.
Low ceilings stay comfortable
Older homes often have ceilings under eight feet. Using a pendant in that space can create a tunnel effect. A danish flush mount hallway fixture gives the same cozy glow without lowering the visual height.
Streamlined Scandinavian look
Corridors carry traffic between rooms, yet they deserve style. Danish designs favor pale wood, soft whites, and clean metal trims. This minimal shape blends with baseboards and door frames, letting art or rugs stand out instead. If you crave a touch of depth, place a diffused pendant light at the hallway’s end as a gentle focal point.
Advertisement
Energy and maintenance perks
Flush mounts trap less dust than intricate chandeliers, so wiping the lens is quick. LED modules use tiny watts, perfect for a light that may stay on all evening. Swapping bulbs is simple because you reach up, not into a fixture that dangles.
Sizing guidelines for low ceilings

Start with ceiling height. Measure from floor to drywall. For halls under 8 ft, pick a fixture no deeper than 6 inches. Anything lower risks head bumps and makes the space feel cramped.
Easy math rule
Use the 1/7ths trick: divide ceiling height (in inches) by seven to get the maximum fixture depth. A 90 inch ceiling → 90÷7 ≈ 13 in. depth limit. For 84 inches, stay under 12 inches.
Diameter matters too
Measure hallway width, double it, and swap feet for inches. A 3 ft wide corridor needs a light about 6 inches across. This keeps illumination balanced without swallowing sightlines.
Spacing checklist
- Leave at least one fixture length between lights.
- Center each mount 18–24 inches from door frames to avoid glare splash.
- For extra-long halls, pair flush mounts with a diffused pendant light at the far end.
Sample quick-pick chart
- Ceiling Height:7 ft (84 in), Max Depth: ≤12 in, Suggested Diameter:6–8 in
- Ceiling Height:7.5 ft (90 in), Max Depth: ≤13 in, Suggested Diameter:8–10 in
- Ceiling Height:8 ft (96 in), Max Depth: ≤14 in, Suggested Diameter:10–12 in
| Ceiling Height | Max Depth | Suggested Diameter |
|---|---|---|
| 7 ft (84 in) | ≤12 in | 6–8 in |
| 7.5 ft (90 in) | ≤13 in | 8–10 in |
| 8 ft (96 in) | ≤14 in | 10–12 in |
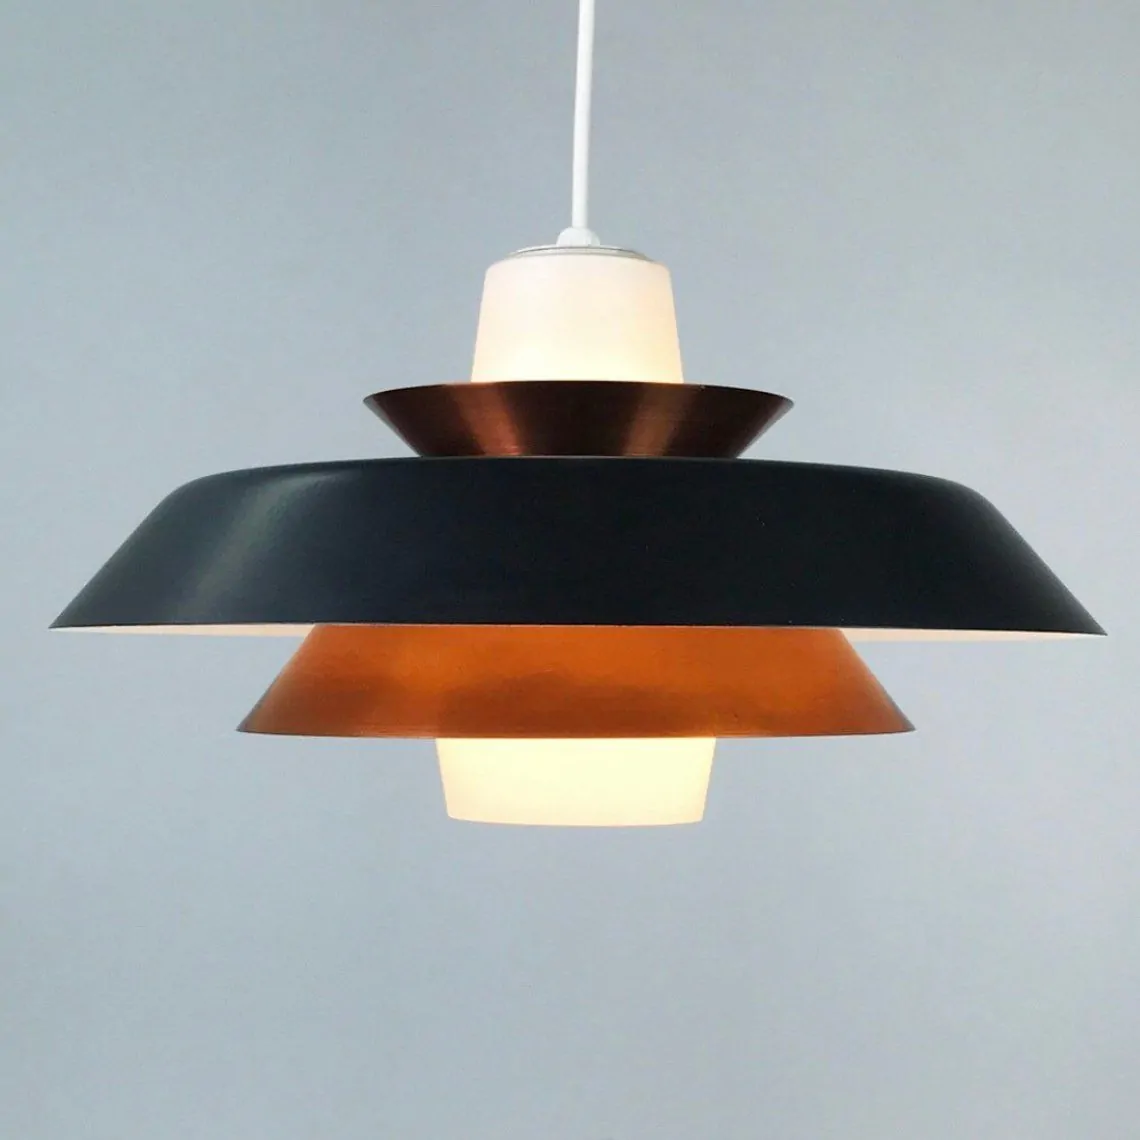
Material choices for a hygge vibe
The quickest way to invite hygge is to pick natural materials that feel soft to the eye and hand. A Danish flush mount with an oak or ash rim adds a gentle grain that echoes wooden floors and doors. Make sure the wood is sealed with a low-VOC oil so its warm tone glows instead of shines.
Glass that glows, not glares
Skip clear bulbs. Choose an opal glass diffuser that scatters light like a winter candle. This milky shell hides the LED points and pairs well with any diffused pendant light at the hall’s end, keeping brightness even from ceiling to floor.
- Brushed brass: offers a mellow gold sparkle without feeling flashy.
- Matte black steel: frames wood and glass while fading into shadow.
- White enamel: blends into ceilings, letting textures take the spotlight.
Texture adds calm energy
Line the inner shade with woven linen or recycled paper. These fibers soften edges and boost that cozy cocoon vibe. If you prefer full eco credit, look for FSC wood and bamboo trims—both store carbon and last decades with light care.
Combine two or three of these materials, but keep the palette tight. A wooden ring, opal glass bowl, and tiny brass screws already deliver enough layered comfort to turn a plain hallway into a snug passage.
Pairing with diffused pendant light accents

Combining a slim Danish flush mount with a soft-glow pendant creates a light path that feels open yet cozy. Mount flush fixtures every 6–8 ft, then hang one pendant at the corridor’s end to pull eyes forward and add depth.
Match shapes and finishes
Select a pendant with the same wood trim or matte metal as your ceiling light. Opal glass shades mimic the flush mount’s diffuser, blending brightness instead of fighting it.
Check drop length
For ceilings under 8 ft, keep the pendant cord short—12–15 inches below the ceiling—to preserve headroom. Taller halls can handle a longer drop that sits near doorknob height for drama without danger.
- Glare-free lighting: use frosted LEDs in both fixtures.
- Dimming control: connect them to one smart switch for instant mood shifts.
- Shadow balance: space the pendant at least 3 ft from the nearest flush mount to prevent overlapping halos.
Add a narrow runner rug echoing fixture colors so the lighting plan feels stitched into the whole hallway.
Achieving glare-free lighting on a budget
Swap shiny bulbs for frosted LEDs. They cost a little more than clear bulbs but scatter light and last up to 25,000 hours.
DIY diffusers
Cut parchment paper or thin white acrylic to fit inside the flush mount. These low-price inserts soften beams and hide the LED hotspot.
- Matte spray paint: A quick coat on a metal shade stops harsh reflections. Use heat-safe paint and let it cure overnight.
- Stick-on film: Frosted window film trimmed to circle shape works as a budget lens for glassless fixtures.
Placement tweaks
Move the fixture 12 inches away from shiny picture frames or mirrors. This reduces bounce glare without spending a dime.
Tune brightness smartly
Install an affordable TRIAC dimmer—about $15 at hardware stores. Pair it with dimmable LEDs and set light to 70% for cozy, glare-free lighting.
Need extra savings? Buy multipacks of bulbs and split the cost with a neighbor. The hall glows, wallets stay happy.
Installing in older homes without rewiring

Older hallways often hide brittle wires and shallow ceiling boxes. Before touching anything, shut off power at the breaker and test with a non-contact voltage pen.
Check box depth
Many pre-1960 homes have 1/2-inch pancake boxes. A low-profile Danish flush mount usually fits, but add a metal retrofit ring if screws do not line up.
Use existing cables
LED fixtures draw tiny amps, so the original 14-gauge cable is fine when insulation is intact. Wrap frayed cloth wire with heat-shrink sleeves instead of pulling new runs.
- Match wire colors: black to hot, white to neutral, green or bare to ground.
- If no ground exists, attach a grounding pigtail to the metal box.
Skip wall cuts with smart controls
Pair the light with a battery wireless switch. It sticks to plaster and talks to a hidden receiver in the canopy—no chisel needed.
Anchor into plaster
Use toggle bolts rated for 50 lb if joists are off-center. Tighten slowly to avoid cracking lath.
Finish by adding an LED disk rated 2700 K for that hygge glow, then restore power and enjoy a safer, brighter passage.
Scandinavian shade design ideas to DIY
Turn a plain flush mount into Nordic art with simple materials and an afternoon of work.
Wood veneer wrap
Buy flexible oak or birch veneer strips. Soak for 10 minutes, then curve them around the existing metal ring. Secure with tiny brass brads and a dab of wood glue. The grain adds gentle warmth.
Plywood slat drum
Cut 1-inch plywood slats the height of your fixture. Space them evenly around a cardboard tube, leaving slim gaps for light. Spray whitewash paint for a snow-dust look.
Knitted wool cozy
Use chunky off-white yarn to knit a simple tube in stockinette stitch. Slip it over the glass bowl. The stitches filter light like a winter sweater.
Paper snow lantern
Fold heavy origami paper into accordion pleats. Form a ring and tape edges inside the shade frame. The layered folds project soft, snowy patterns on walls.
- Safety tip: keep all DIY covers at least 1 inch from LED chips to avoid heat buildup.
- Finishing touch: add a leather pull tab to the center screw for subtle Scandinavian flair.
Maintenance tricks to keep fixtures spotless

Dust builds fast in hallways, so schedule a quick wipe every week. Turn off power, wait for the LEDs to cool, then swipe the shade with a dry microfiber cloth. The static fibers grab lint without scratching opal glass.
Monthly deep clean
Unscrew the bowl and place it on a towel. Mix a few drops of dish soap with warm water. Dip a soft sponge, squeeze out extra liquid, and gently wash the glass. Rinse, pat dry, and let the piece air out before reattaching.
Wood and metal care
- Wood rim: rub a pea-size dab of mineral oil along the grain to keep the finish rich.
- Brushed brass: buff fingerprints with a cloth dampened in equal parts vinegar and water.
- Matte paint: wipe with a barely damp rag; avoid commercial sprays that add shine.
Clear vents and LEDs
Use a soft artist brush to sweep dust from the fixture’s vents. Clean fins mean cooler chips and longer life. Check that the LED module sits tight in its socket—loose parts can flicker.
Quick refresh hacks
Stick lint rollers on the closet door; grab one during laundry runs and roll it over the shade. Keep alcohol wipes in a hallway drawer for surprise smudges. Five-minute habits stop grime from becoming a weekend project.
Bringing hygge to your hallway
A slim Danish flush mount keeps tight corridors open while spreading warm, even light. Pick sizes that match your low ceiling, stick to natural materials like oak and opal glass, and pair the ceiling light with a diffused pendant for added depth.
Glare-free lighting is easy on a budget—just swap in frosted LEDs, add simple diffusers, and place fixtures smartly. Older homes do not need full rewiring; retrofit rings, wireless switches, and grounding pigtails get the job done safely.
DIY shades turn a basic fixture into Nordic art with veneer, plywood slats, or knitted cozies. Finally, weekly dusting and a monthly wash keep everything spotless and bright for years.
Follow these steps and your once-forgotten hallway becomes a cozy, functional path that welcomes everyone home.
FAQ – Danish Flush Mount Hallway Lighting
What ceiling height works best for a hallway flush mount?
Any ceiling under 8 ft needs a fixture no deeper than 6 inches. Use the 1⁄7 rule—divide ceiling height (in inches) by seven to find the max depth.
Can I install a flush mount in an old house without rewiring?
Usually yes. LED fixtures draw minimal power, so existing 14-gauge cables are fine if insulation is intact. Add a retrofit ring and a grounding pigtail for safety.
How do I get glare-free lighting on a budget?
Swap in frosted LED bulbs, line the shade with parchment or acrylic diffusers, spray matte paint on shiny metal, and add an inexpensive dimmer switch.
Which materials create a hygge vibe for hallway lighting?
Choose natural oak or ash rims, opal glass diffusers, brushed brass screws, and matte enamel finishes for a warm, cozy look.
What’s the best way to pair a flush mount with a pendant in a narrow corridor?
Mount flush lights every 6–8 ft, then hang one diffused pendant at the hall’s end. Match finishes and keep the drop 12–15 inches below the ceiling on low ceilings.
What quick maintenance keeps my flush mount spotless?
Turn off power, wipe weekly with a microfiber cloth, wash glass monthly with mild soap, oil wood rims, and brush dust from vents to keep LEDs cool.