Clean lacquered pendant shade safely by turning off and cooling the fixture, dusting weekly with a feather duster, wiping grease with neutral-pH soapy water and a microfiber cloth, avoiding abrasive pads and ammonia cleaners, applying occasional carnauba wax to revive gloss, and storing wrapped in cotton inside a dry, foam-lined box.
Advertisement
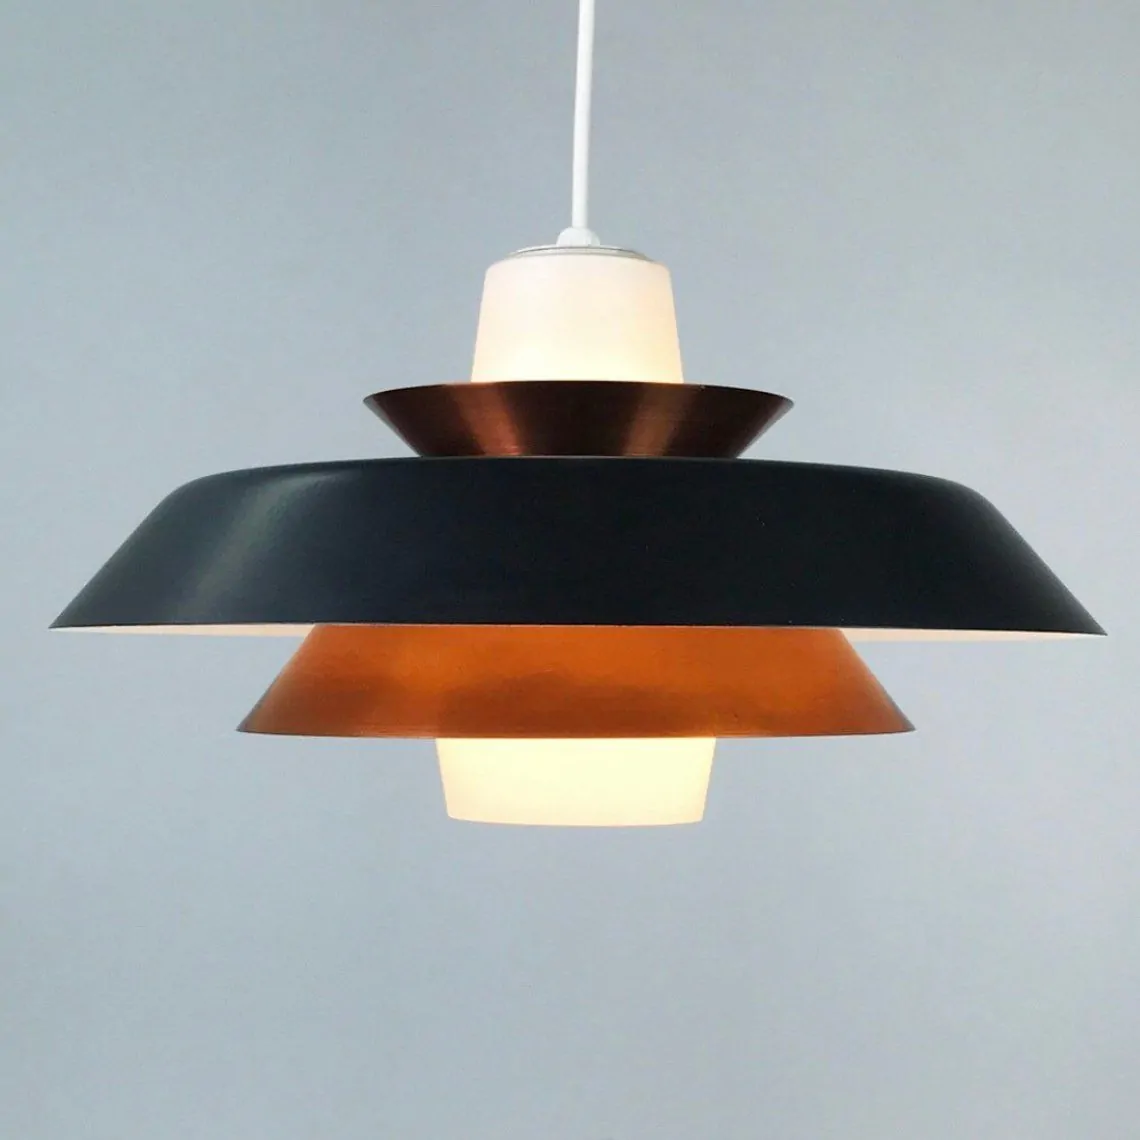
clean lacquered pendant shade sounds easy until you spot that stubborn film dulling the glow. Curious how to wipe it away without scratching the lacquer? Keep reading for field-tested hacks that save both shine and time.
why lacquered aluminum needs special attention
Lacquered aluminum carries a thin, clear coat that seals the metal and adds eye-catching gloss. This layer is softer than the alloy beneath, so even light rubbing can leave swirls or hairline scratches.
Heat sensitivity
High stove heat or direct sunlight warms the lacquer faster than the metal. The mismatch makes the coat expand, turn cloudy, or lift at the edges.
Let fixtures cool before wiping and keep bulbs within the maker’s wattage limit to avoid heat stress.
Chemical reaction risk
Cleaners with ammonia, bleach, or citrus dissolve resin binders that hold the finish. A single spray can etch dull rings.
Advertisement
Mild, neutral-pH soap removes grime while leaving the protective film intact.
Static dust buildup
The glossy surface builds static electricity that pulls in airborne dust. Dry cloths grind grit across the shine like sandpaper.
A feather duster or a damp microfiber pad lifts particles without abrasion.
Moisture under the seal
Any chip or pinhole lets steam slip underneath, forming milky spots. Frequent kitchen humidity speeds this process.
Blot splashes right away and run an exhaust fan during cooking to keep water out of the pores.
common cleaning mistakes that dull the shine

Lacquer looks tough, yet the glossy coat marks fast when treated the wrong way. Know these slip-ups so your pendant keeps its mirror-like glow.
Abrasive tools scratch instantly
Steel wool, scrub pads, or even paper towels carry rough fibers that cut micro-grooves into the finish. Swap them for a damp microfiber cloth that lifts dirt, not shine.
Harsh chemicals strip lacquer
Ammonia, bleach, and citrus cleaners break down resin binders. A quick spritz can leave foggy rings. Stick with neutral-pH soap mixed in warm water.
Soaking instead of wiping
Pooling water seeps under hairline cracks and turns the surface milky. Mist the cloth, not the shade, and dry right after to block moisture creep.
Cleaning while the fixture is hot
Heat makes lacquer soft. Wiping a warm pendant fuses dust into the coat and leaves swirl marks. Turn off the light and wait ten minutes before touching it.
Using dusty rags
Trapped grit behaves like sandpaper. Wash cloths often and store them in a sealed bag so they stay lint-free and ready for the next polish.
step-by-step routine for weekly dust removal
- Power down and cool
Switch off the pendant and wait five minutes so the lacquer hardens again before you touch it. - Set up protection
Spread a thick towel on the table beneath the lamp. It catches falling dust and cushions accidental bumps. - Anti-static feather pass
Glide an ostrich feather duster from canopy to rim in smooth strokes. The natural oils trap loose particles without scratching. - Damp microfiber wipe
Lightly mist a clean microfiber cloth with distilled water. Wipe in one direction, flipping the fabric as it soils to avoid redepositing grime. - Detail the creases
Wrap a cotton swab in the same cloth to reach vents, seams, and around the socket. Skip toothpicks or metal tools that can nick the finish. - Final buff
Polish with a dry, lint-free cloth using gentle circles. This lifts any streaks and revives the mirror-like sheen.
deep cleaning grease and fingerprints safely

Sticky cooking vapor and oily fingerprints can cling to the glossy coat. Remove them in small steps to keep the lacquer safe.
- Unplug and cool
Turn the light off and wait until the shade is room temperature. - Mix a gentle wash
Add two drops of neutral dish soap to a bowl of warm distilled water. Stir until bubbles form. - Wipe grease zones
Dip a microfiber cloth, wring it almost dry, then press on greasy spots. Work in straight lines, not circles. - Target fingerprints
For stubborn prints, dab a cotton swab in 50% isopropyl alcohol. Tap the mark, pause ten seconds, then lift it with the damp cloth. - Rinse fast
Lightly mist a fresh cloth with clean water and wipe once to remove soap film. Do not soak.
Finish with a dry polish
Buff the shade with a lint-free towel until the surface gleams. Any moisture left behind can cloud the lacquer, so check seams and edges twice.
refreshing the lacquer without costly products
Fine scratches and dull patches don’t need pricey specialty kits. Everyday items can revive a mirror glow for pennies.
Budget-friendly supply list
- Carnauba car wax—solid or paste
- Soft foam applicator pad
- Two clean microfiber cloths
- Clear, quick-dry nail polish for tiny chips
- Small bowl of mild, warm soapy water
Quick refresh steps
- Clean first
Wash the shade with the soapy water, rinse, and dry fully. Wax traps dirt, so a spotless base is key. - Apply wax
Rub a pea-size dab of carnauba wax onto the foam pad. Spread a thin, even film over the lacquer in straight lines. - Wait and haze
Let the wax sit two minutes until it turns cloudy. This short cure bonds the wax without softening the coat. - Buff to shine
Use the first microfiber cloth to wipe off haze, then the second cloth to polish until the surface reflects light crisply. - Touch-up chips
Dot clear nail polish on nicks. Allow ten minutes to dry, then blend the spot with a gentle wax pass.
Need a natural option? Mix one teaspoon of olive oil with two teaspoons of white vinegar, rub lightly, and buff dry for a temporary boost.
storage and handling tips to prevent future damage
Lacquer chips fast when the shade bangs against hard objects or sits in damp air. Follow these simple steps to keep the finish flawless while it is off the ceiling.
Safe removal
Turn off power, unscrew the canopy, and cradle the shade with both hands. Hold it by the metal stem, never by the rim, to avoid flexing the coat.
Proper packing
- Wrap the pendant in a soft cotton T-shirt.
- Slide it into its original box or a snug cardboard carton lined with foam.
- Slip two silica-gel packs beside the cloth to soak up moisture.
Climate control
Store the box on a high shelf away from heaters, windows, and garage humidity. A steady 60–75°F (15–24°C) room keeps the lacquer stable.
Transport with care
Place the boxed shade flat in your car trunk, wedged with pillows so it cannot roll. Sudden jolts can crack the clear coat.
Reinstall like a pro
Wear clean cotton gloves, wipe dust with a dry microfiber, then mount the fixture while another person supports its weight. Tighten screws gently to prevent stress marks.
Keep your lacquered pendant shining
A glossy aluminum shade stays bright when you treat the lacquer like glass. Dust weekly with feather tools, skip harsh cleaners, and wipe only after the lamp cools.
Grease and fingerprints come off with mild soap or a dab of alcohol, while a light coat of carnauba wax brings the mirror glow back without pricey kits.
Finally, handle the shade with cotton gloves, wrap it in soft cloth, and store it in a dry, cushioned box. These small habits protect the finish and let your pendant light up the room for years.
FAQ – Cleaning and Maintaining Lacquered Pendant Shades
How often should I dust my lacquered pendant light?
Dust once a week with an ostrich feather duster or damp microfiber cloth to stop particles from scratching the glossy coat.
What cleaner is safe for removing greasy buildup?
Mix two drops of neutral-pH dish soap in warm distilled water. Wipe with a lightly wrung microfiber cloth, then dry right away.
Can I use glass cleaner or vinegar on lacquer?
No. Ammonia and acids in those liquids can cloud or strip the lacquer. Stick to mild soap or 50 % isopropyl alcohol for tough spots.
How do I fix small chips in the lacquer?
Clean the area, dab clear quick-dry nail polish on the chip, let it cure, then apply a thin coat of carnauba wax to blend the shine.
Is waxing really necessary, and how often?
A light pass of carnauba wax every six months fills micro scratches and boosts gloss. It takes minutes and costs very little.
What’s the safest way to store the shade during renovation?
Wrap it in a soft cotton T-shirt, place it in a foam-lined box with silica gel packs, and keep the box on a dry, stable shelf away from heat.
| Step | Action | Purpose |
|---|---|---|
| 1. Power Down & Cool | Turn off the light and allow it to cool completely | Prevents heat damage and ensures safety during cleaning |
| 2. Dust Gently | Use a feather duster or soft microfiber cloth | Removes surface dust without scratching the lacquer |
| 3. Spot Clean | Wipe with a damp cloth and mild, neutral-pH soap | Eliminates grease and grime without harming the finish |
| 4. Dry Immediately | Use a clean, dry cloth to remove moisture | Prevents water spots and moisture damage |
| 5. Optional Polish | Apply carnauba wax occasionally | Restores and maintains the glossy appearance |